Braids9 min read
Master the Art of Braids: Styles for Every Occasion
Braids are one of the most adaptable ways to style hair, shifting easily from an effortless daytime look to something polished enough for a wedding, dinner party, or office event. The secret is not owning advanced salon skills, but understanding a handful of reliable techniques, how to prep the hair for each one, and how to adjust shape, texture, and accessories to suit the moment. This guide walks through braid styles that work across real life: quick errands, busy workdays, date nights, formal celebrations, and everything in between. Each idea includes practical at-home tips so you can create braids that feel intentional, comfortable, and flattering rather than stiff or overworked.

Start with the Right Prep for a Cleaner, Longer-Lasting Braid
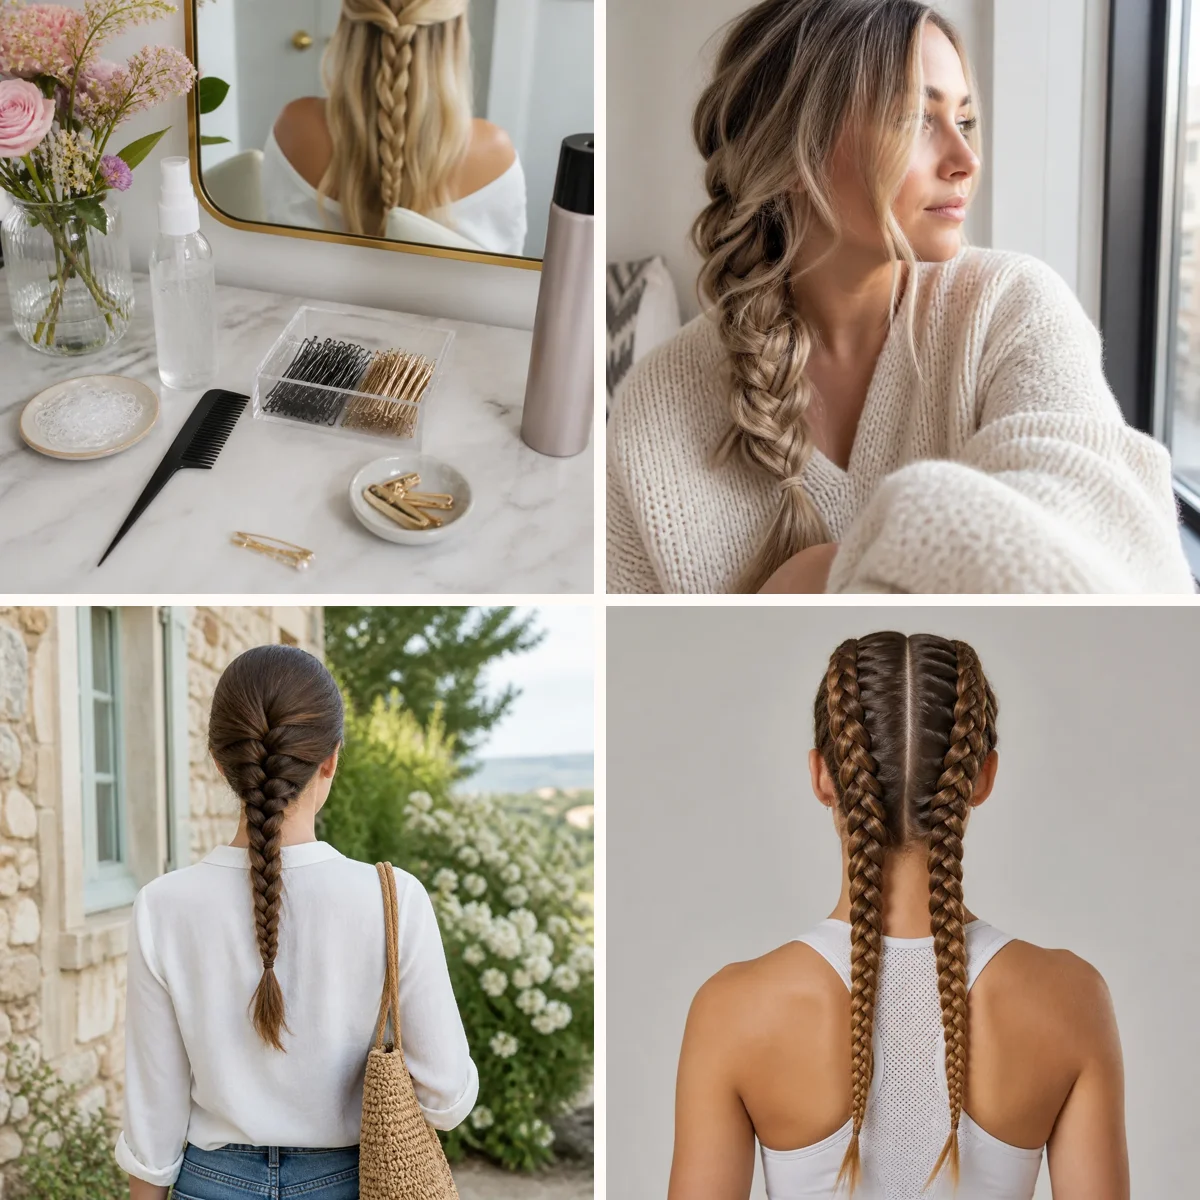
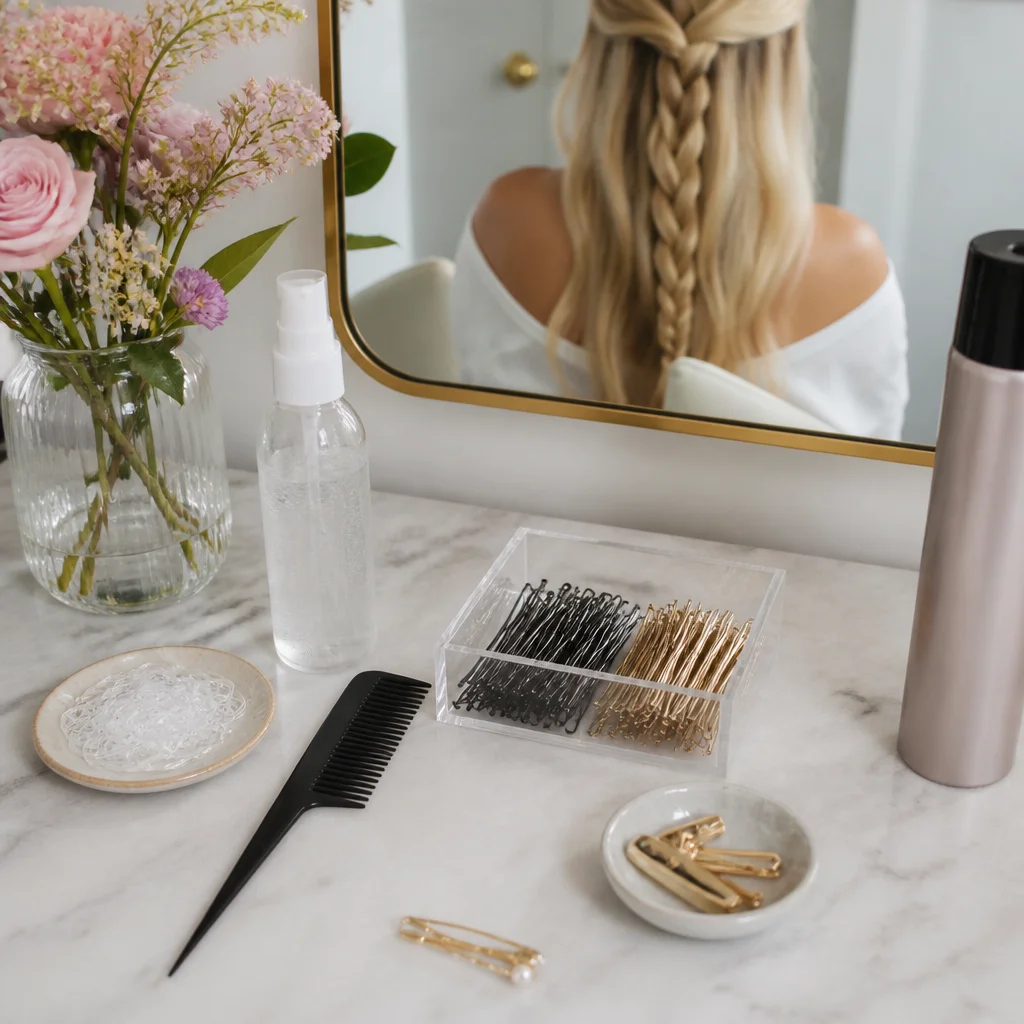
A good braid begins before the first crossover. If hair is freshly washed and very silky, add light grip with a texturizing spray, dry shampoo at the roots, or a small amount of mousse through the mid-lengths. If hair is curly or prone to frizz, smooth a lightweight cream over the surface and detangle fully with a wide-tooth comb before sectioning. Keeping a tail comb, clear elastics, sectioning clips, and a few bobby pins within reach makes the process much easier and helps you maintain even tension from start to finish. The image here shows a vanity setup with braid essentials arranged beside partially prepped hair, illustrating how tools and product choice support the final result. Use a mirror with good side visibility, especially when braiding the back of your head, and remember that slightly imperfect texture often makes braids look fuller and stay in place better than hair that is too soft or too shiny.
Choose a Classic Three-Strand Braid for Everyday Ease
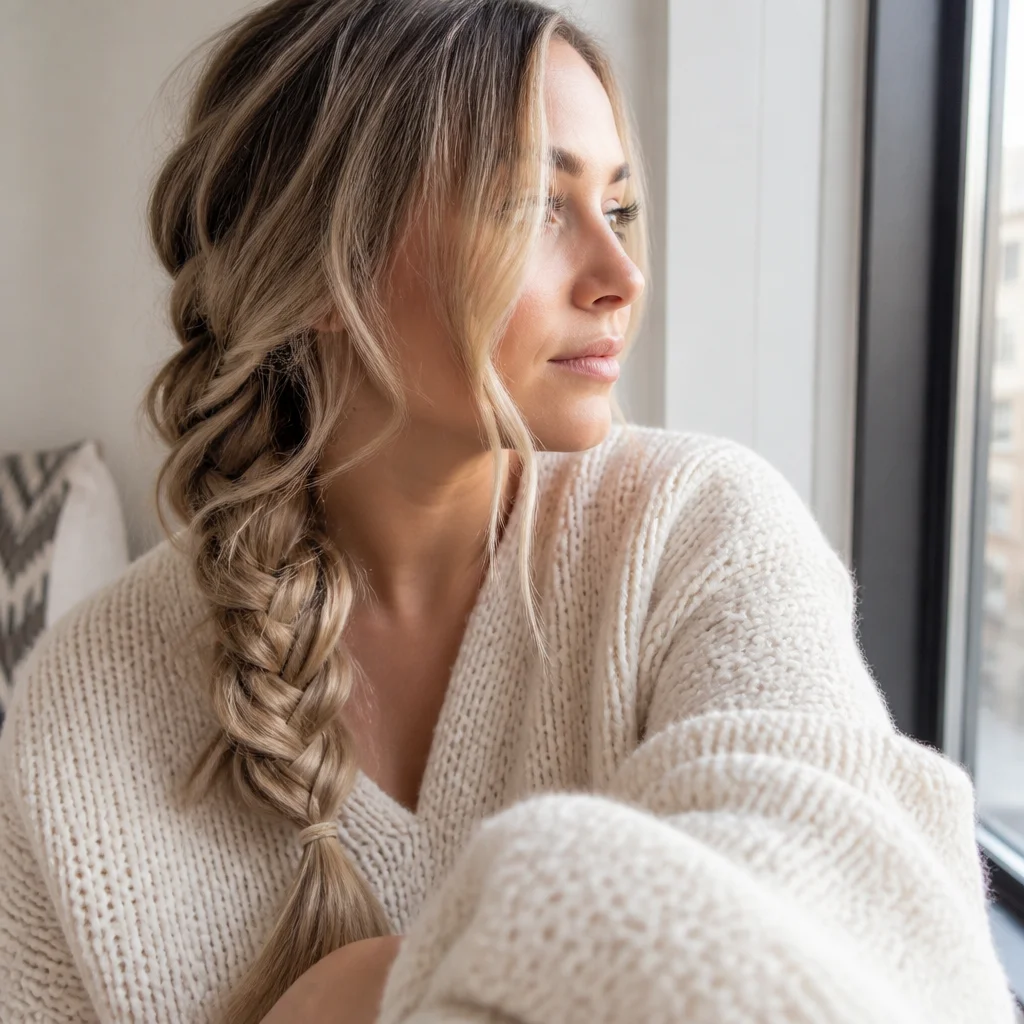
The simplest three-strand braid is ideal for casual outings, school runs, walks, or a relaxed lunch because it is quick, neat, and dependable. Gather hair at the nape or to one side, divide it into three equal sections, then cross the outer sections over the middle alternately while keeping your hands close to the weave. Secure the end with a small elastic and gently tug the edges if you want a softer, fuller finish. The corresponding photo features a relaxed side braid styled with a knit sweater and natural light, showing how effortless this option can look in daily life. For a more polished version, smooth the crown first and leave the braid sleek; for a softer version, release a few face-framing strands and loosen only the lower half so the style stays secure near the scalp.
Use a French Braid When You Need Hair Securely Off the Face
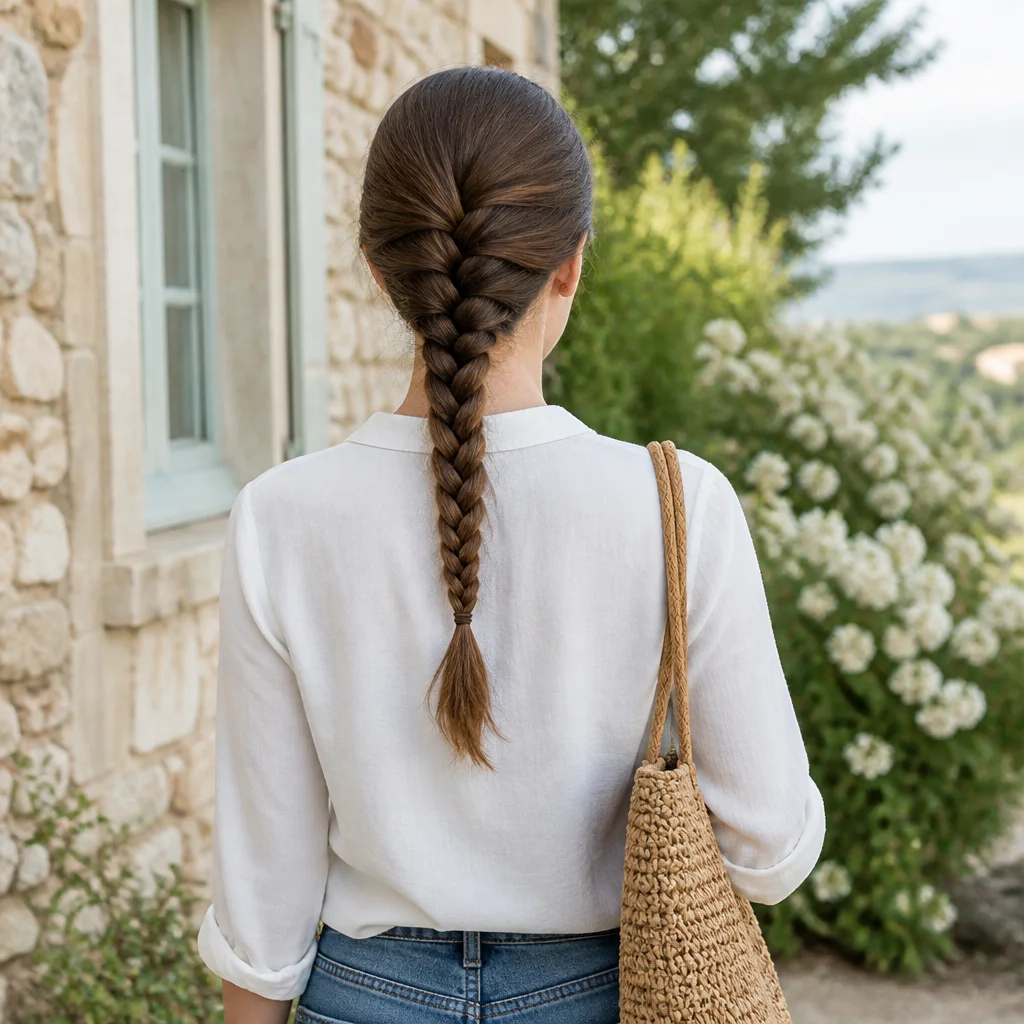
A French braid is one of the most practical options for active days because it keeps hair controlled from the hairline to the ends. Begin at the crown, split a small section into three, and braid normally for one pass before adding small sections from each side as you continue downward. The key is consistency: try to add similar amounts of hair each time so the braid sits centered and balanced. The image in this position shows a neat single French braid worn for a daytime outing, highlighting its tidy, all-day structure. This style works especially well for humid weather or long events because it minimizes flyaways. If your hands tire while braiding, pause and pinch the woven section firmly before adding more hair; that small reset keeps the pattern from loosening.
Try a Dutch Braid for More Definition and a Raised Finish
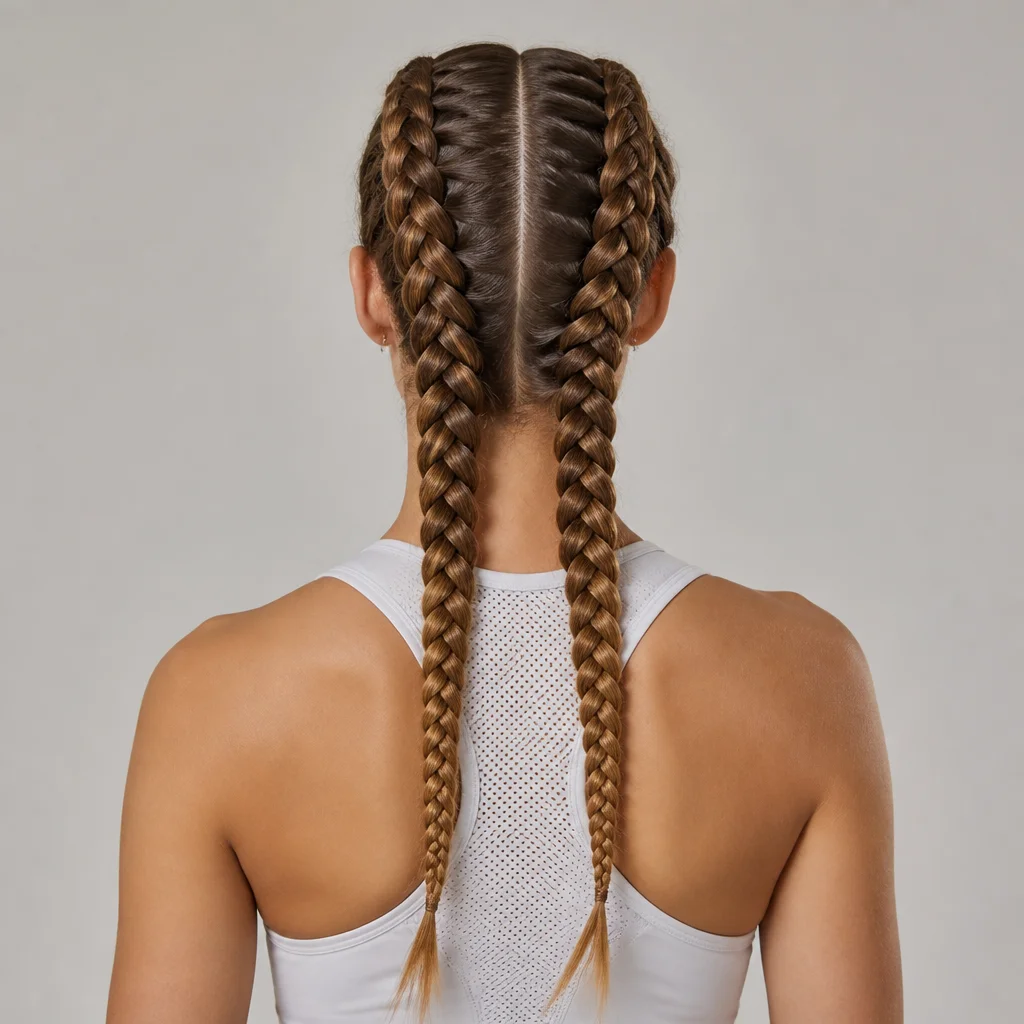
If you like braids that stand out visually, the Dutch braid is an excellent upgrade. The method is similar to a French braid, but instead of crossing the outer strands over the middle, you cross them underneath. That one change creates a raised braid that appears more sculpted and dimensional, making it a favorite for sporty looks, festival styling, and bolder everyday hair. This photo shows twin Dutch braids with crisp parting, demonstrating how the underhand technique creates a braided ridge. To keep the look sharp, define your part first and use clips to hold one side while you work on the other. After securing the ends, pull gently at each braid pancake-style for extra volume without sacrificing the graphic shape.
Create a Romantic Crown Braid for Garden Parties and Brunches
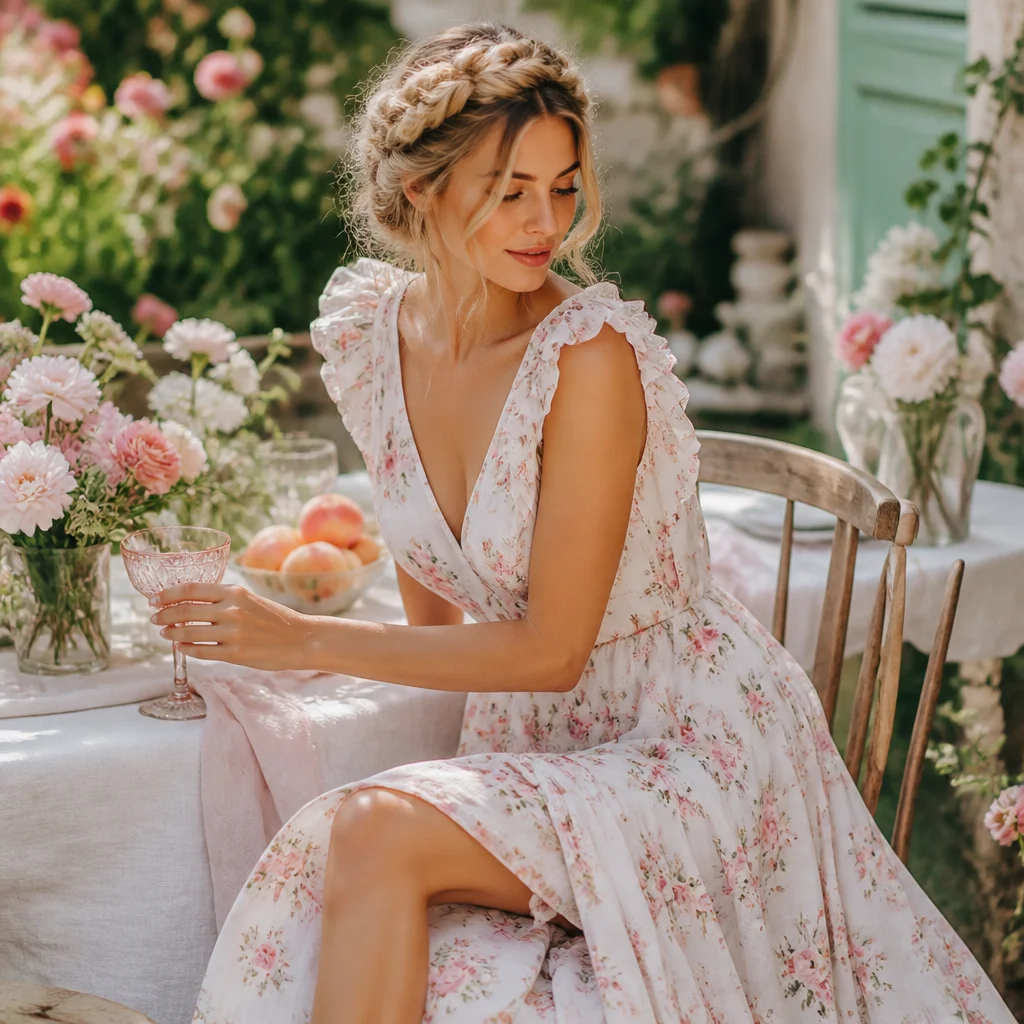
A crown braid instantly feels special, yet it can be achieved at home with a bit of patience. One approachable method is to make two low braids, wrap them over the head, and pin them in place, tucking the ends discreetly near the opposite ear. Another method uses a continuous Dutch or French braid around the head, though the two-braid version is often easier for beginners and gives a similarly graceful effect. The matching image presents a soft crown braid paired with a flowing dress in an outdoor setting, underscoring its romantic appeal. This style benefits from a touch of looseness, so do not braid too tightly. Pull a few wisps around the temples and nape, then set the shape with light-hold hairspray so it stays airy instead of rigid.
Elevate a Ponytail with a Wrapped Braid for Work or Dinner
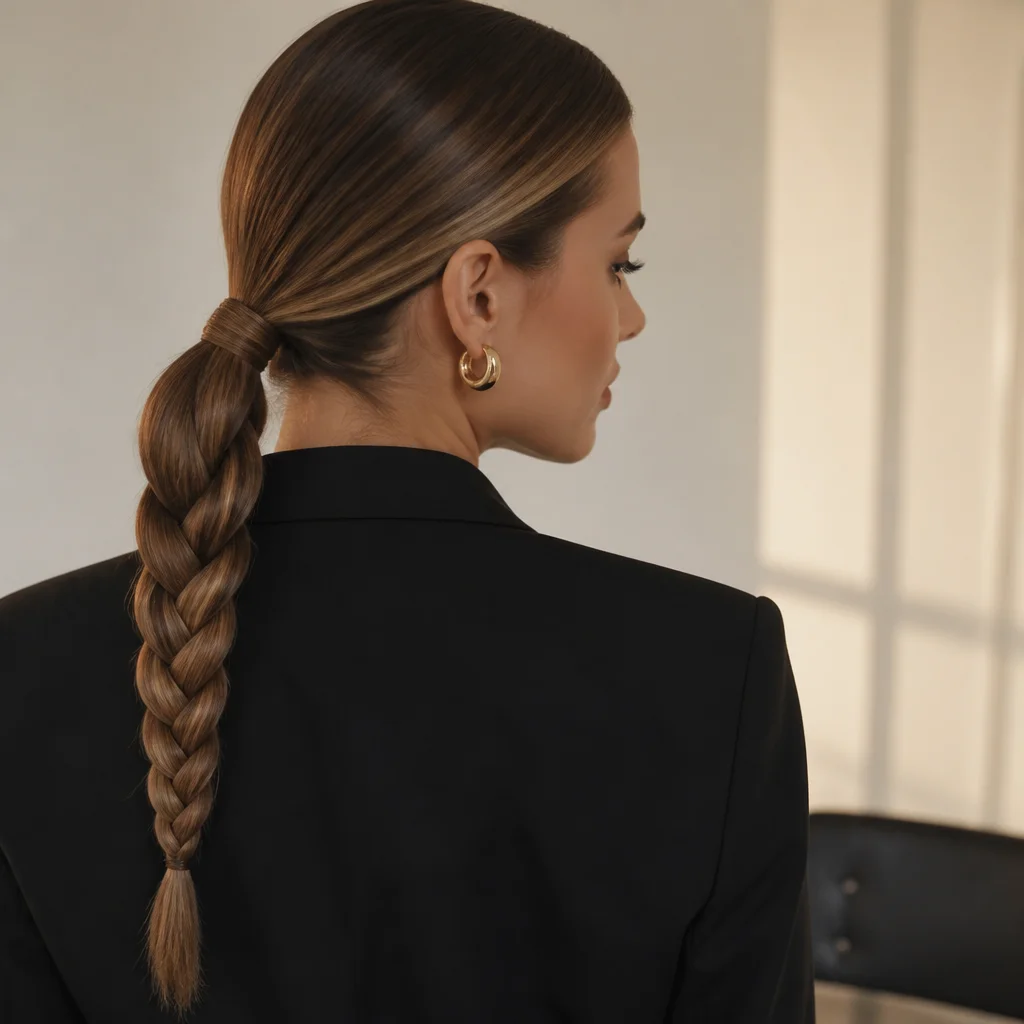
A braided ponytail is one of the easiest ways to look put together with minimal effort. Start with a high, mid, or low ponytail depending on the mood, then braid the tail in a classic three-strand, rope, or fishtail pattern. For a cleaner finish, wrap a small section of hair around the base to hide the elastic and pin it underneath. The result is sleek at the head and interesting through the lengths. In the corresponding photograph, a smooth low ponytail transitions into a refined braid, showing how suitable this style is for office wear or a simple evening outfit. If your ponytail tends to droop, use two elastics or anchor the base with crossed bobby pins. A shine serum on the tail helps the braid read polished without making it slippery.
Master the Fishtail Braid for Texture That Feels Dressy
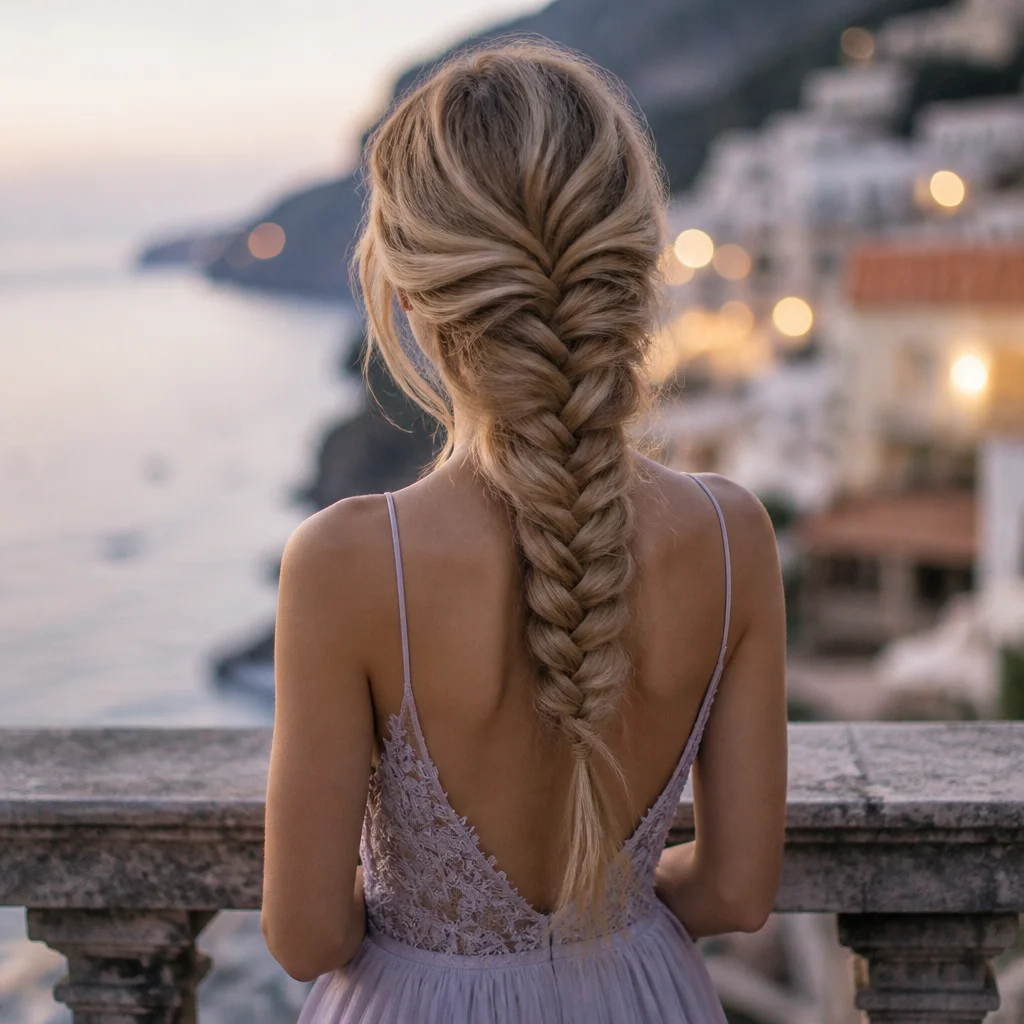
The fishtail braid looks intricate but relies on a repetitive, manageable pattern. Divide the hair into two large sections, then take a thin piece from the outside of one section and cross it over to join the opposite side; repeat on the other side all the way down. Smaller pieces create a more delicate, refined effect, while larger pieces give a chunkier, more casual texture. This image shows a softly expanded fishtail braid with visible detail down the back, making clear why it suits date nights and semi-formal events. For easier control, secure the hair in a low ponytail first, fishtail the length, and remove the top elastic if desired once you finish. A light tug along the edges adds fullness and helps the pattern appear more dramatic on finer hair.
Use Accent Braids to Upgrade Loose Hair Without a Full Updo
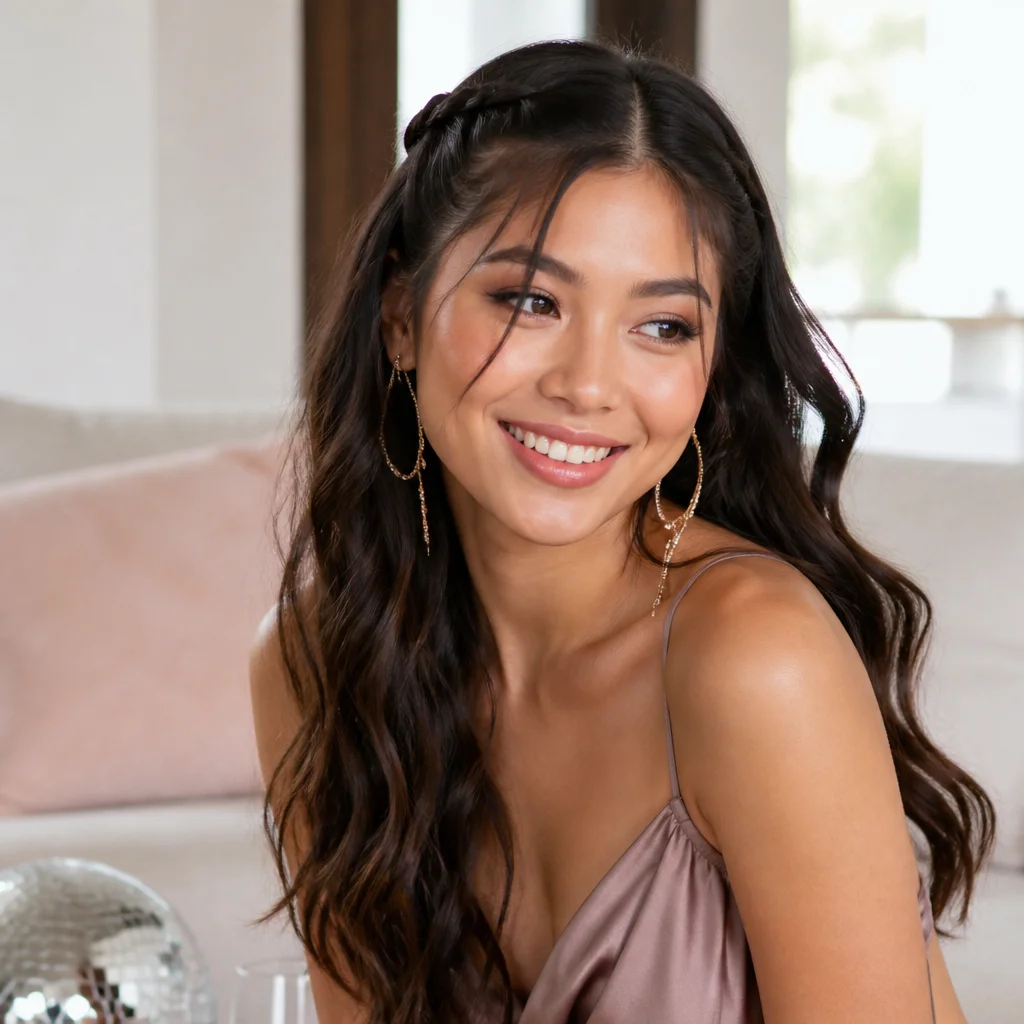
Not every occasion calls for a complete braided style. Small accent braids woven into loose waves or straight hair can add personality without changing your whole look. Try a thin braid at the temple pinned behind the ear, two mini front braids blended into the lengths, or a hidden braid underneath the top layer for subtle interest that appears as hair moves. The photo here features loose hair with delicate face-framing accent braids, showing how this approach suits casual parties, concerts, or weekend plans. The trick is placement: keep accent braids intentional and balanced with your parting and face shape. A little texture in the lengths helps the braided details feel integrated rather than separate.
Build a Half-Up Braided Style for an Easy Special-Occasion Look
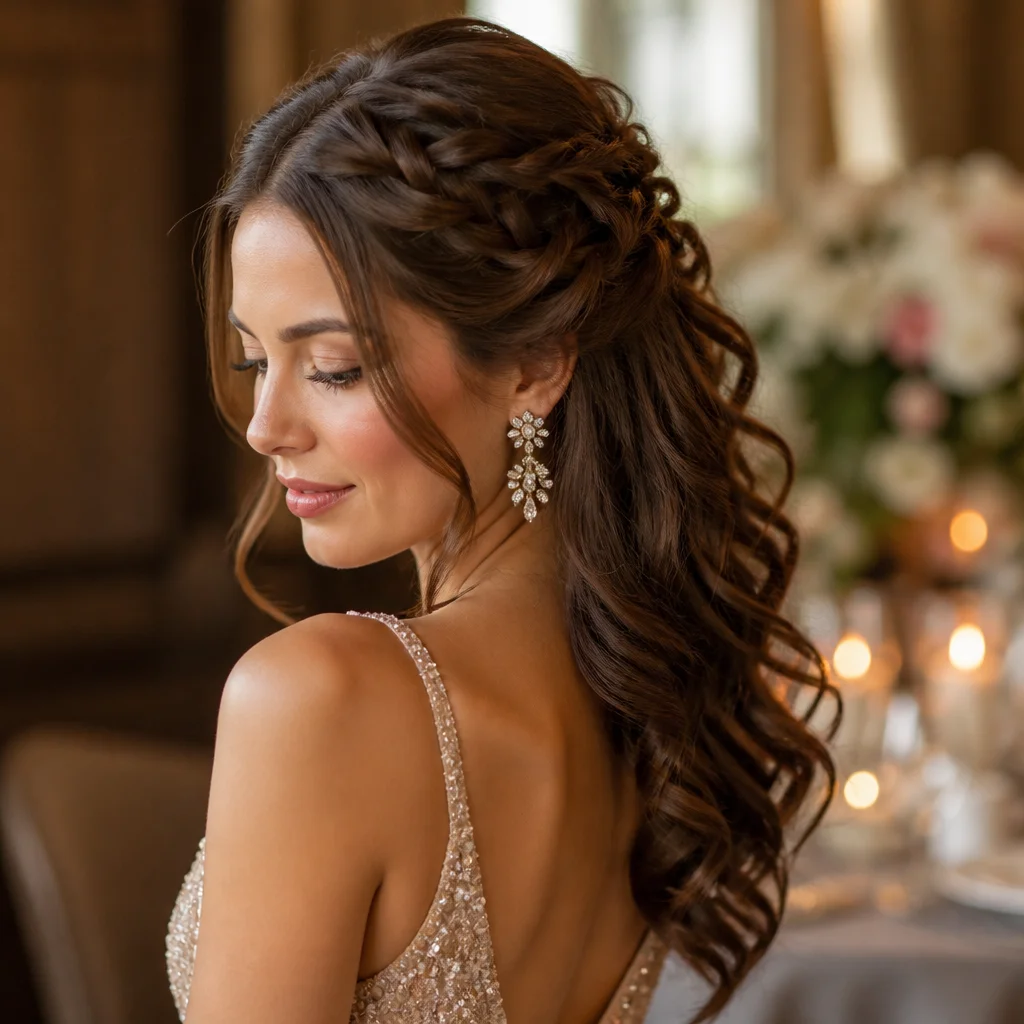
A half-up braid offers the best of both worlds: hair away from the face with enough length left down to feel soft and celebratory. You can combine two side braids at the back, create a half-up French braid from the crown, or braid only the top section into a small bun or knot. This style flatters many hair types because it adds shape at the crown without requiring every strand to be pinned up. The corresponding image shows a half-up braided arrangement with softly curled lengths, ideal for birthdays, showers, or a relaxed wedding guest look. For balance, backcomb very lightly at the crown before braiding if you want more lift. Finish by curling or refining the loose ends after the braid is secured so the whole style feels cohesive.
Turn Braids into a Low Bun for Formal Events
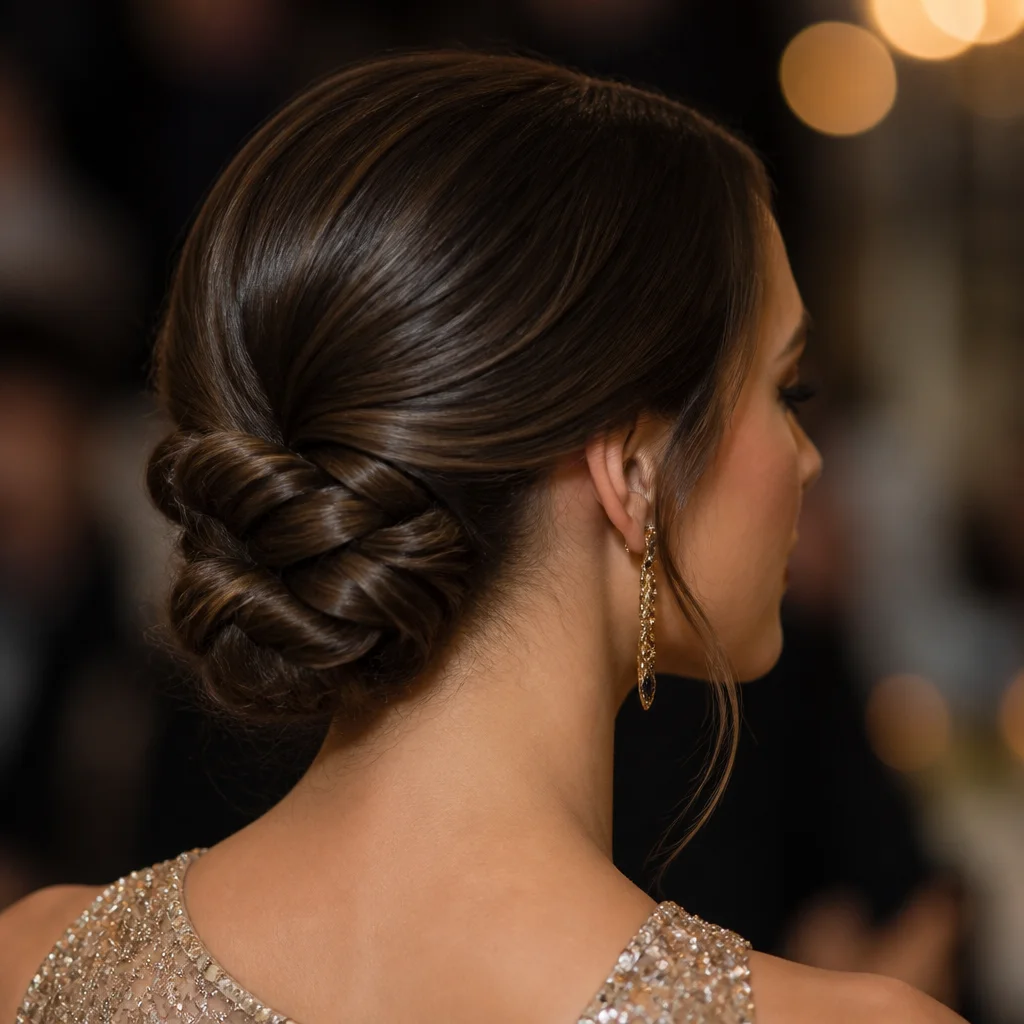
For weddings, evening receptions, or any dressier setting, braided low buns offer elegance with practical hold. Begin with a center or side part, create one or two braids from the front or sides, then gather everything at the nape into a low bun. You can wrap the braids around the bun, pin them over it for texture, or braid the ponytail first and coil it into shape for a more intricate finish. This image shows a refined braided chignon at the nape, demonstrating how braids add detail without overwhelming the silhouette. To make the style last, pin in layers rather than relying on one or two pins. Slide each bobby pin into the bun, then rotate it inward toward the scalp for stronger grip. A final mist of flexible hairspray keeps the finish touchable.
Adapt Braid Placement to Your Hair Type and Length
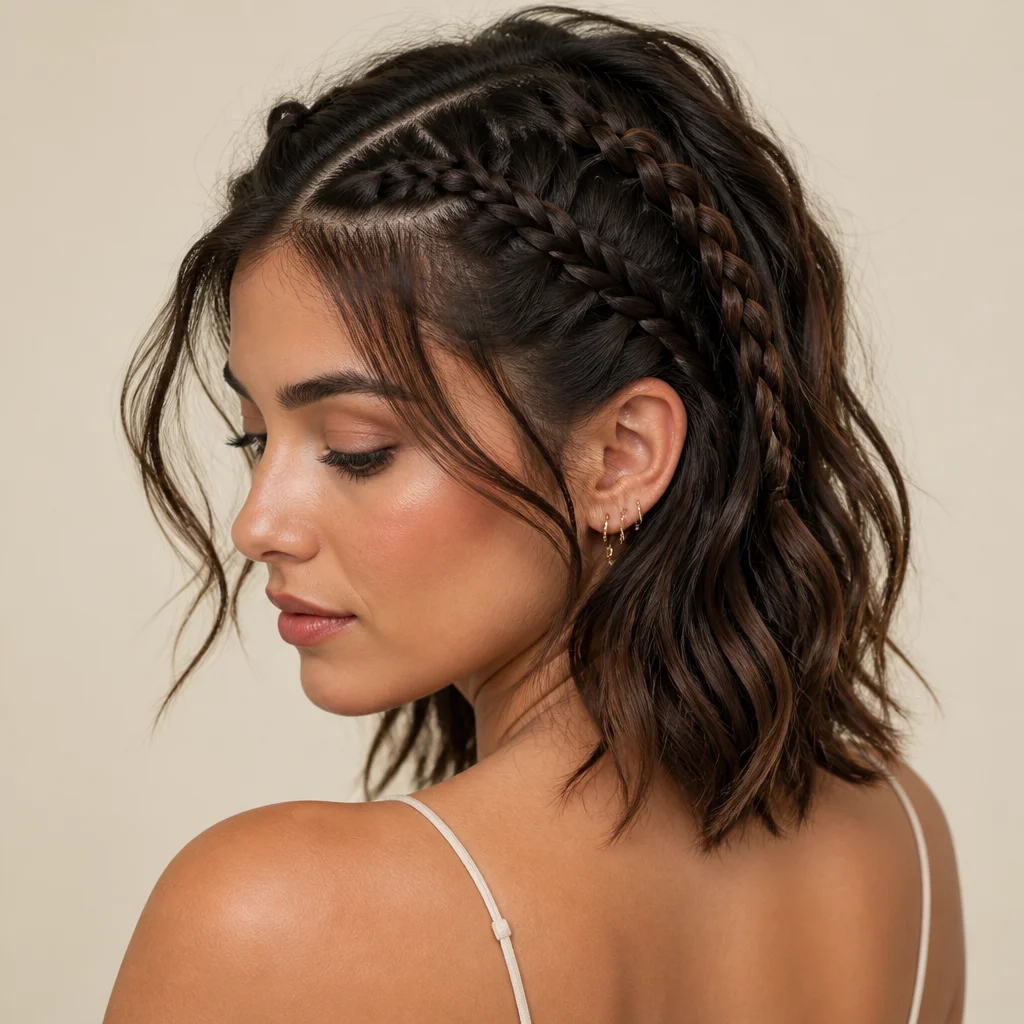
The most flattering braid is often the one adjusted to your own texture rather than copied exactly from someone else. Fine hair usually benefits from dry texture spray, gentle teasing, and wider pancaking after braiding to create fullness. Thick or coarse hair may need sectioning clips, stronger elastics, and a little smoothing cream to control bulk. Shorter hair can still be braided beautifully through half-up styles, side braids, crown effects, or multiple small braids combined together. The matching photo depicts different braid textures on medium-length hair, helping readers see that success comes from customization. If layers slip out, use a tiny amount of styling paste on fingertips while braiding and pin the ends back into the design. If your hair is very long, braid in front of one shoulder whenever possible for better control and less arm strain.
Finish with Small Details That Make At-Home Braids Look Professional
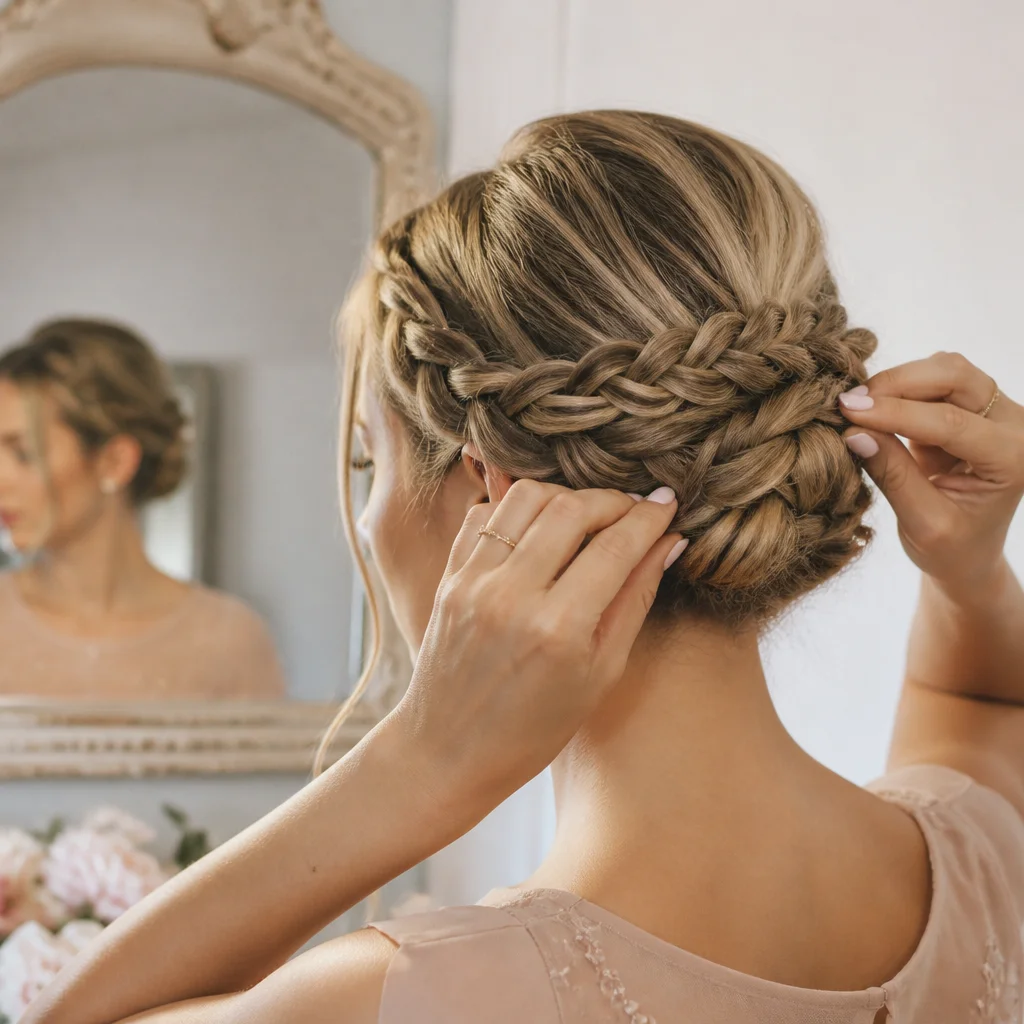
What often separates a homemade braid from a polished one is the final two minutes. Check symmetry from the front and sides, pinch out volume only where needed, and hide visible elastics with a wrapped strand when appropriate. Clean up the hairline with a toothbrush-style edge brush or fingertips, and decide whether your look needs softness, shine, or stronger hold before applying the last product. A pearl pin, ribbon, velvet bow, or metallic clip can shift the same braid from daytime simple to event-ready. The final image shows a finished braid style being adjusted by hand near a mirror, capturing the importance of refinement. Do not chase perfection to the point of overworking the braid; a little softness often reads more modern and flattering. Once the shape feels balanced and secure, stop touching it so the style keeps its structure longer.
Images are AI-generated inspiration concepts.
Explore the categories ↗